How to Create a BOM in Fusion 360
A practical guide to creating Bills of Materials in Fusion 360, what the built-in tools handle well, and where they fall short.

Fusion360 is a fantastic CAD program to start out with. It has become popular among hobbyists and students for its accessibility to just jump in. But once you start to become proficient in one thing or you're about to be working with a team of people, it's important to learn how to make a BOM, Bill of Materials.
This guide walks you through how to do just that.
Video Walkthrough
Starting out:
Start out by opening an assembly in Fusion360. You will want to make sure your assembly is not only editable, but also part of a Fusion project. If you fail to do this, Fusion will kindly let you know beforehand when trying to create your BOM. So in short:
-
Open an assembly (make sure it's in a project)
-
Click on the Manage button on the top header
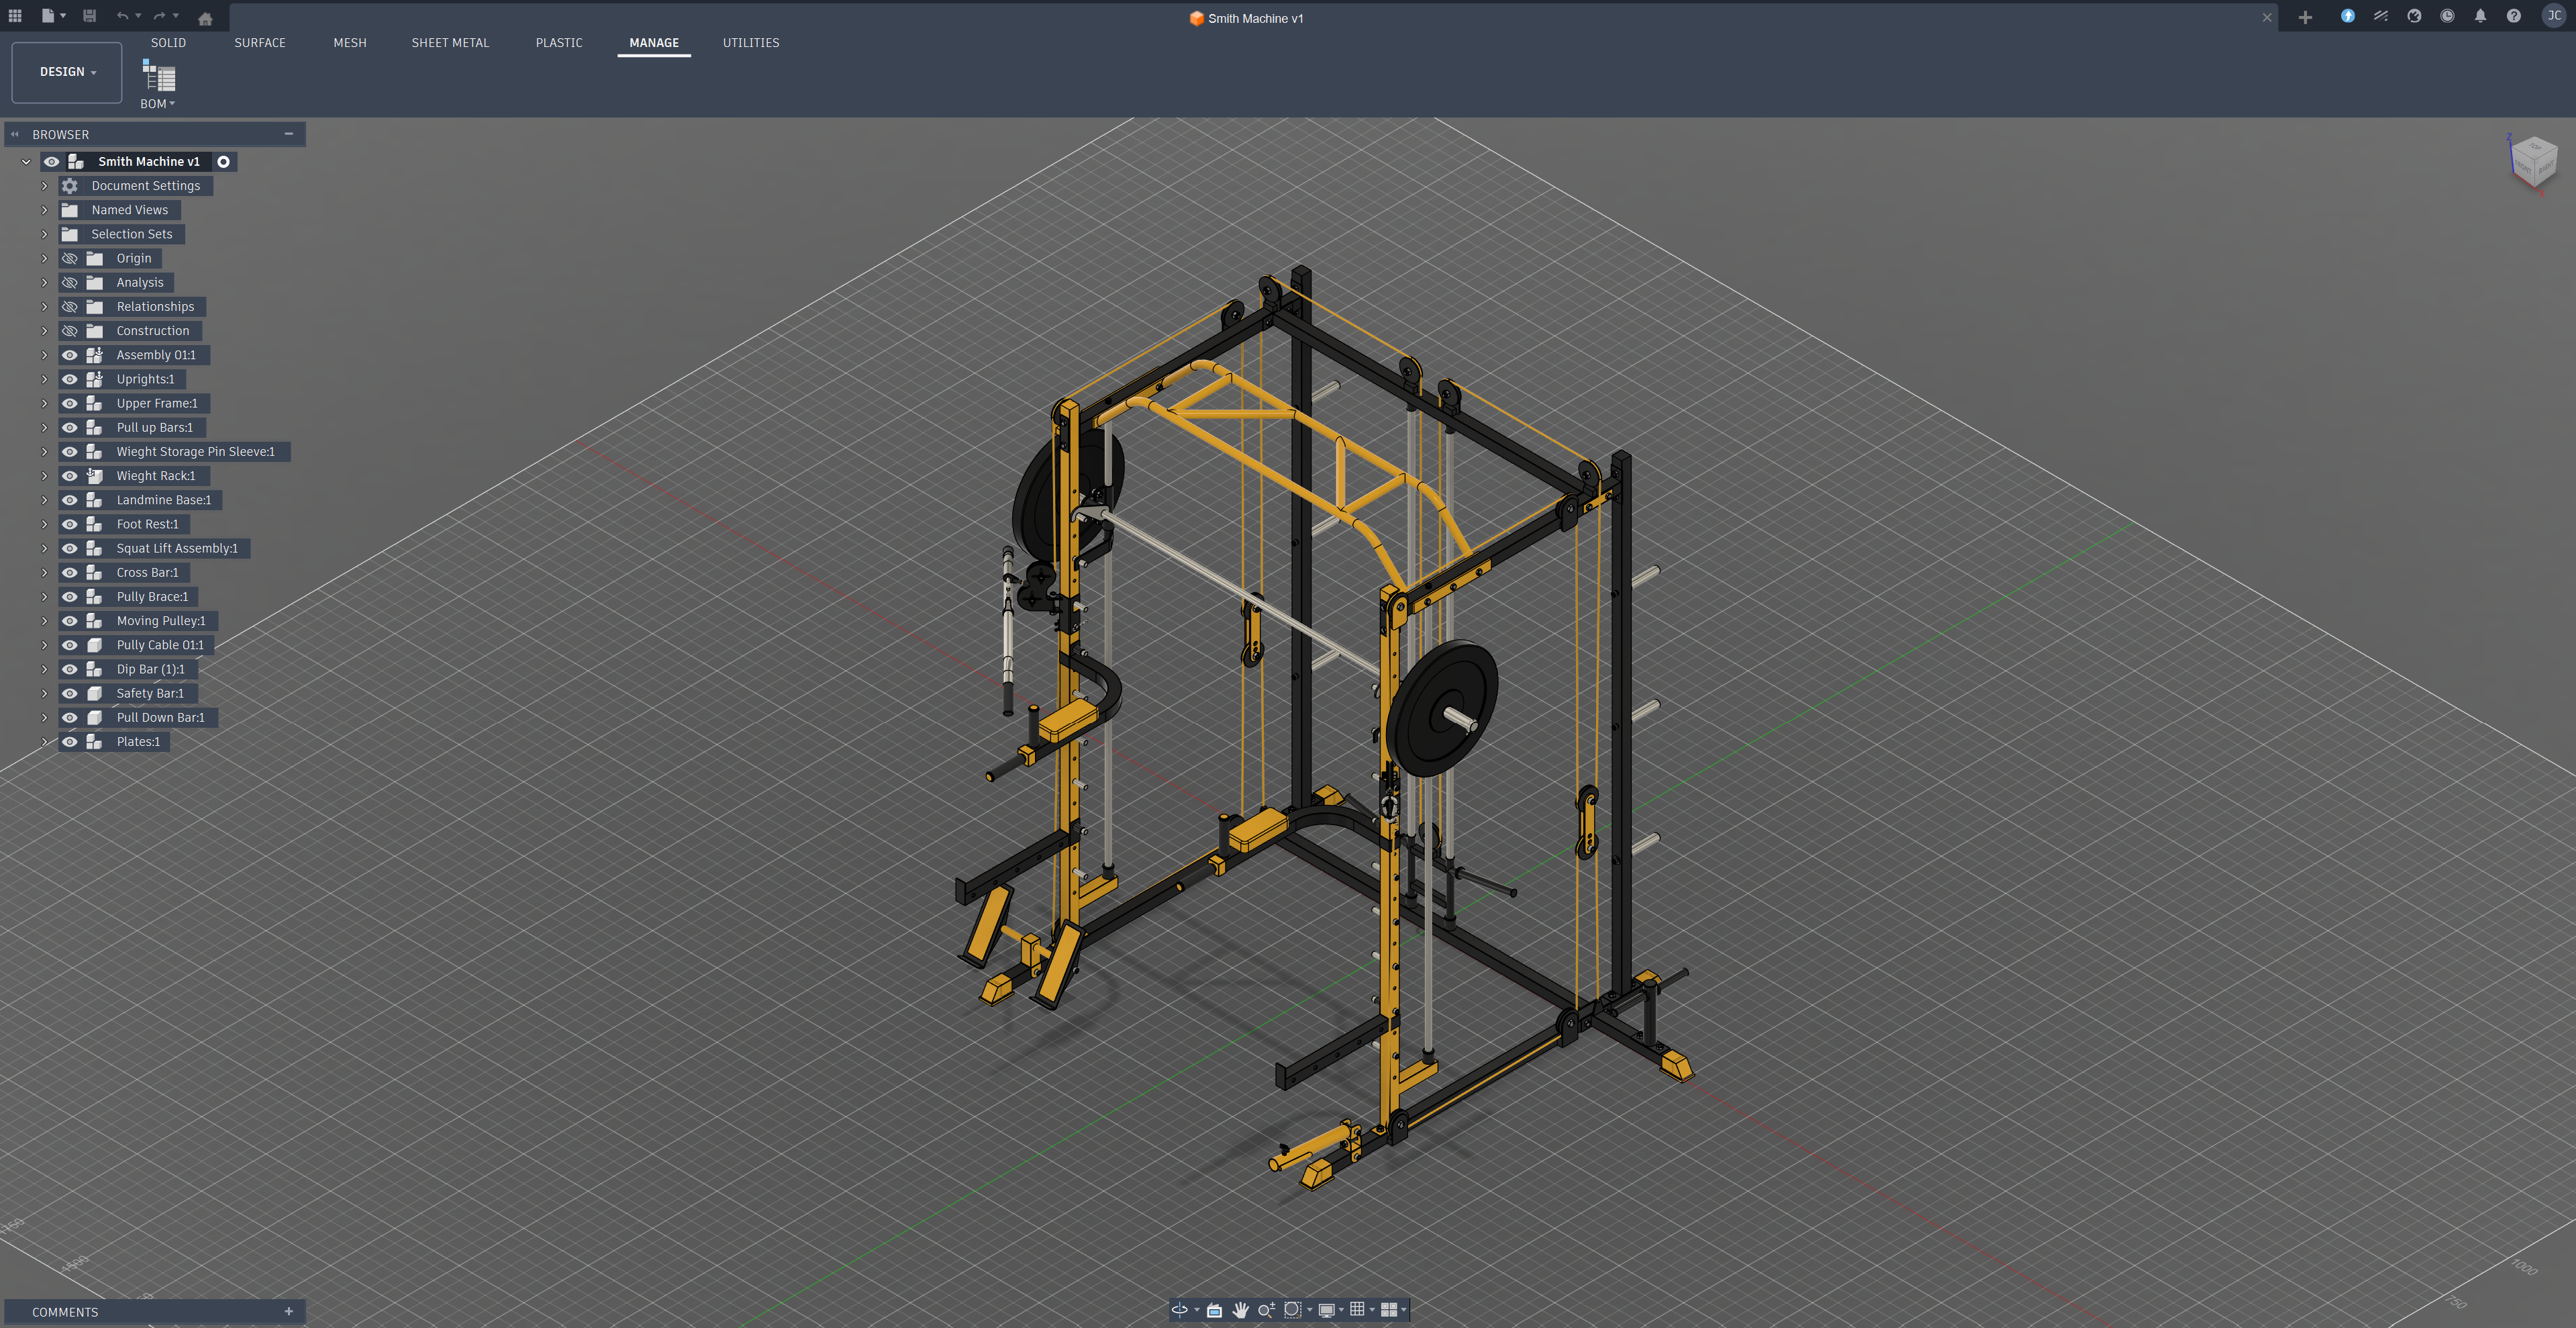
Navigating the Fusion 360 header -
Click on BOM
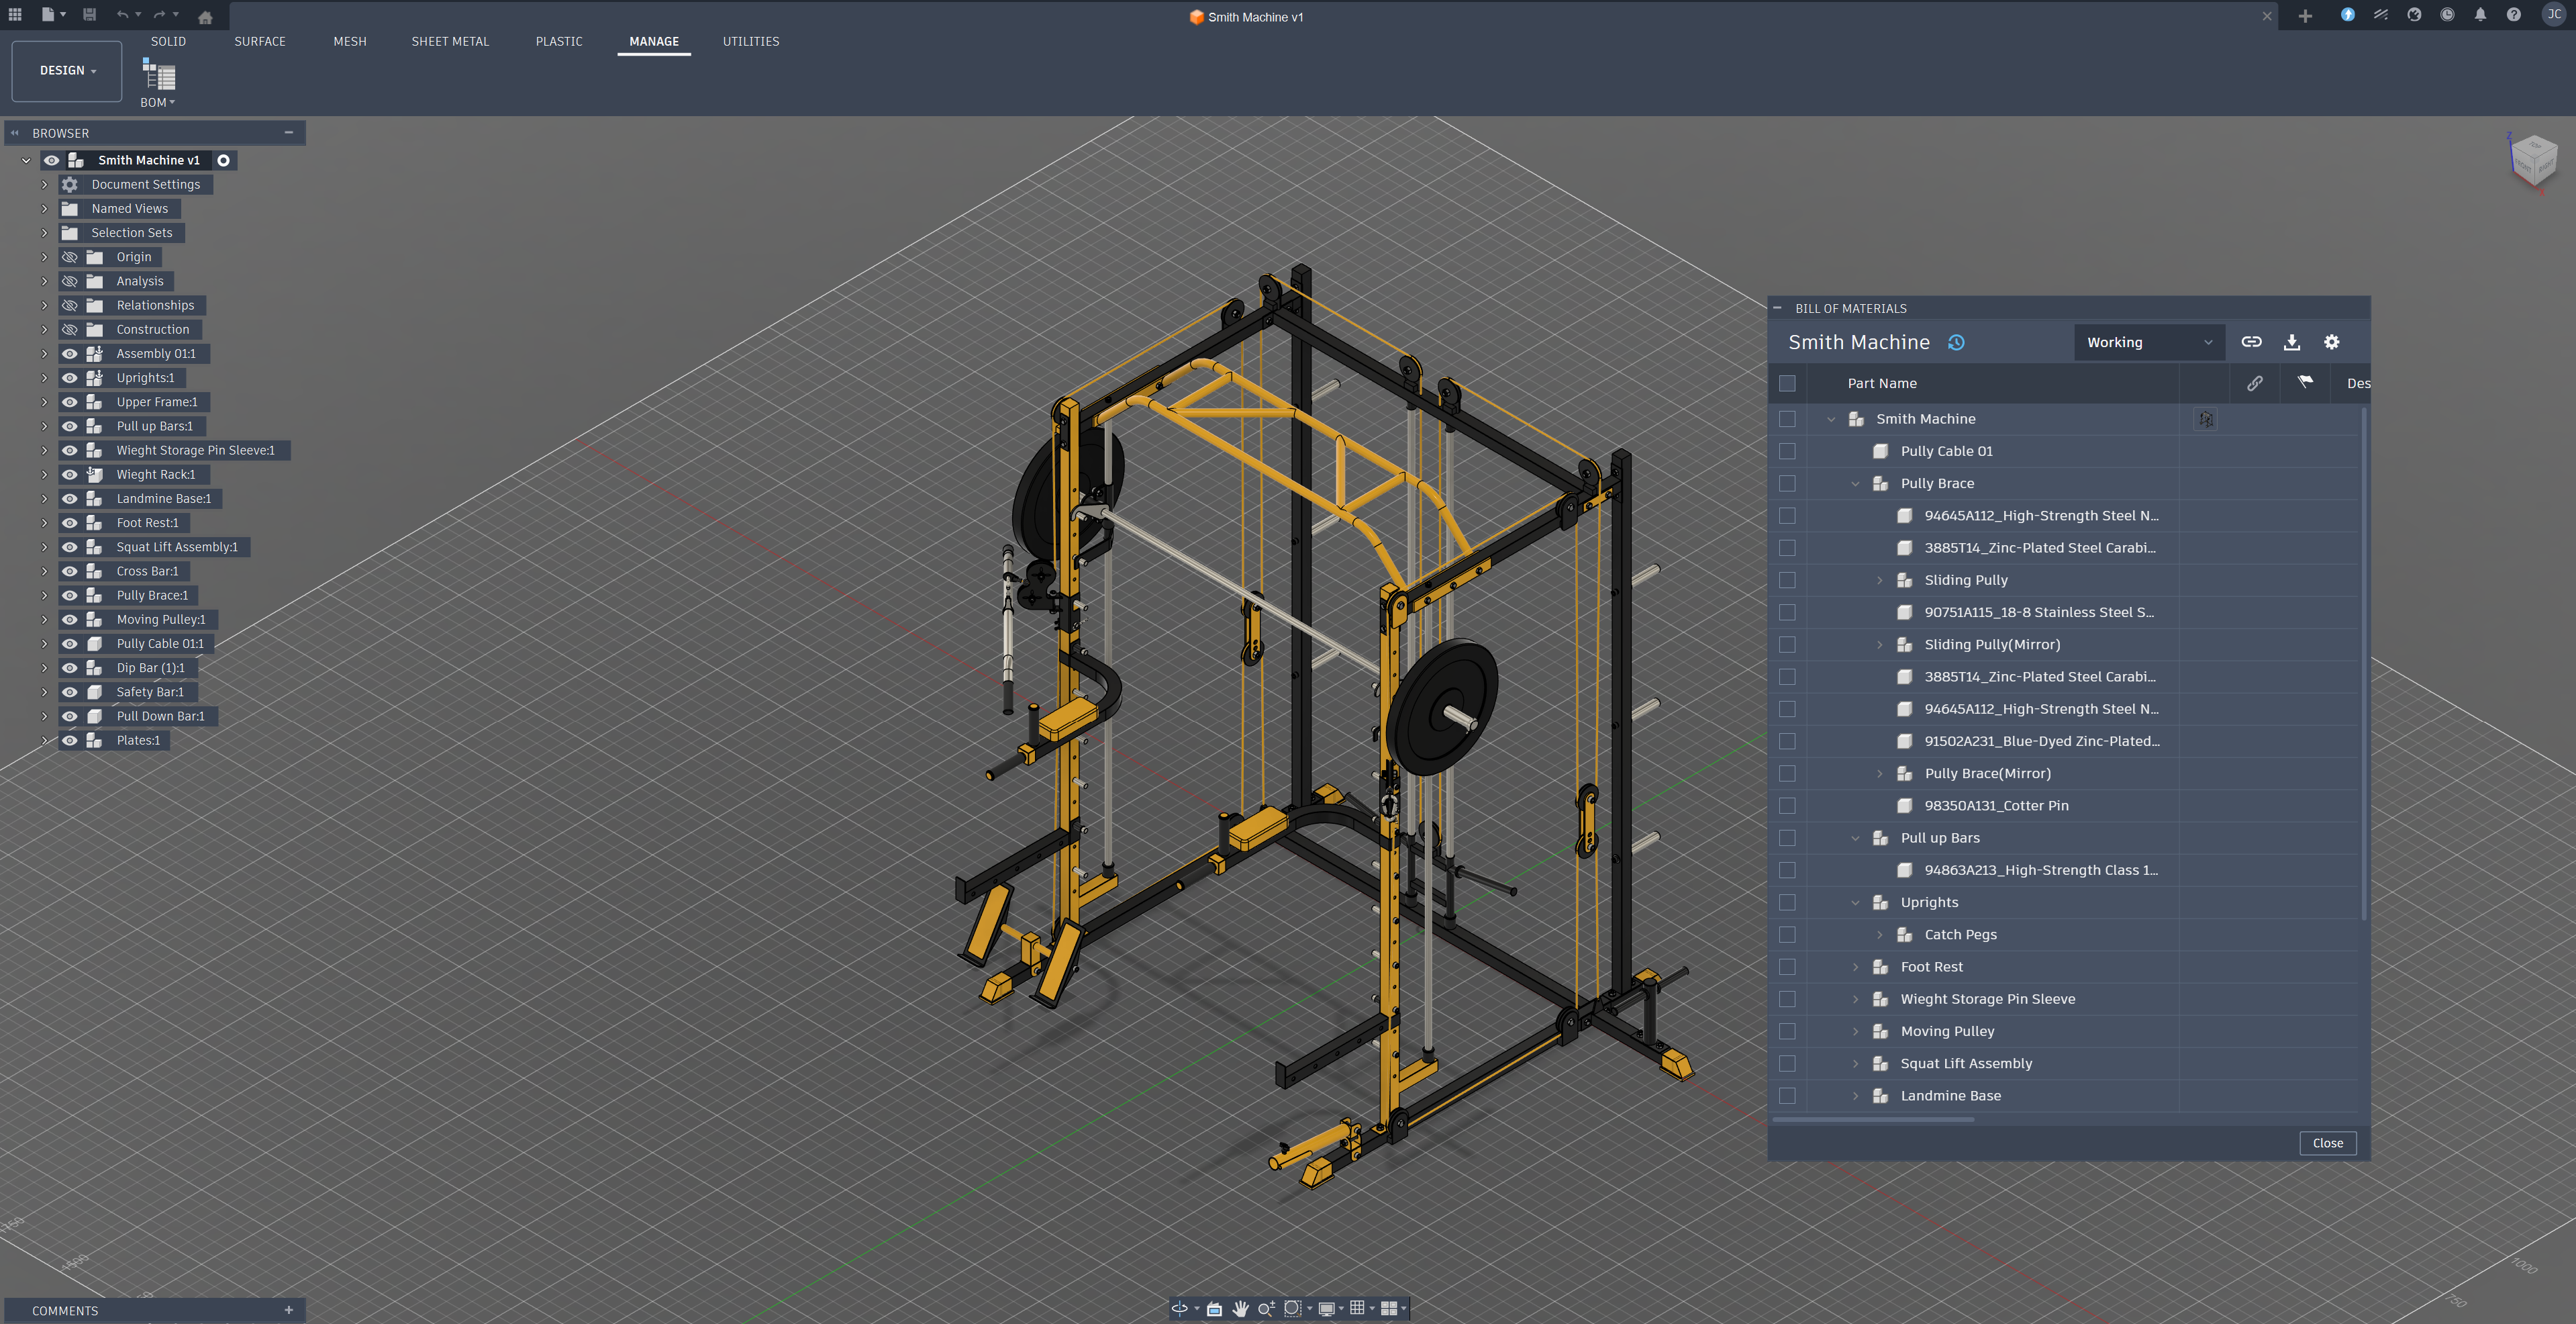
The BOM dialog in Fusion 360 -
Presto! At the moment, the BOM for Fusion is bit limited in its implementation for some power users, but it's a great starting point. You can however copy a link for your team to see and export the BOM. I will have to preface that the youtube video does leave out that you have to expand the BOM window to bring out all other details like part number, revision, quantity, etc.


Fusion 360 has several options for you to export your BOM such as:
- .xlsx (For Excel Spreadsheets)
- .csv (more technical) To do so click on the Export button to start off.
When this works well
For smaller assemblies with a manageable number of parts, this gets the job done. You get a clean CSV that you can open in Excel or Google Sheets and work with from there.
Where it breaks down
- Large assemblies become difficult to navigate in the BOM dialog
- No cost tracking — unit pricing and totals require manual entry after export
- No revision tracking — re-exporting after design changes means manually diffing spreadsheets
- Duplicates across components don't consolidate automatically
- Custom properties may need manual cleanup in the exported file
Common Frustrations
If you're exporting BOMs from Fusion 360 regularly, you've probably run into:
- Repeated exports — every design change means another export and another round of Excel cleanup
- No vendor data — part numbers, pricing, and availability aren't part of the export
- Manual deduplication — the same fastener across multiple components shows up multiple times
- No history — there's no built-in way to compare what changed between revisions
A Better Approach
If you're dealing with any of the above, dedicated BOM management tools can connect directly to Fusion 360 and handle the heavy lifting.
NodeBOM extracts BOM data straight from your active Fusion 360 assembly. It connects through Fusion's API to pull part names, quantities, materials, and properties directly from the component tree. From there, you get tools that go beyond what a spreadsheet can do:
- Deduplicate parts across components with AI matching
- Track costs with budget breakdowns and price history
- Compare revisions side-by-side when the design changes
- Look up vendor pricing from 1,000+ distributors via Nexar
- Sync changes back to your Fusion 360 assembly
It runs locally on your machine, keeping your data private. AI features are opt-in and only send metadata (not geometry) when you use them. It's free to try if Fusion's built-in BOM tools aren't cutting it for your workflow.
Whether Fusion 360's built-in BOM dialog works for you or you need something more robust, the important thing is that your team can track what's needed without losing time to manual spreadsheet work.
Disclosure: This article was written by Joseph Chilcoat and AI-proofread for clarity and accuracy.
Share this article